Your friend is visiting you and they ask for the WiFi password. Seems harmless—right? You know this person and you trust them on your network. Surprisingly, this piece of shared information could cause a data breach and compromise all of the devices connected to the network unbeknownst to both of you.
The easiest way to avoid this misstep is by setting up a guest WiFi network. Providing a different access point to guests and vulnerable devices can prevent accidental cyberattacks. Explore what a guest network is, why it matters, and how to set one up manually in five simple steps.
What Is a Guest Network?
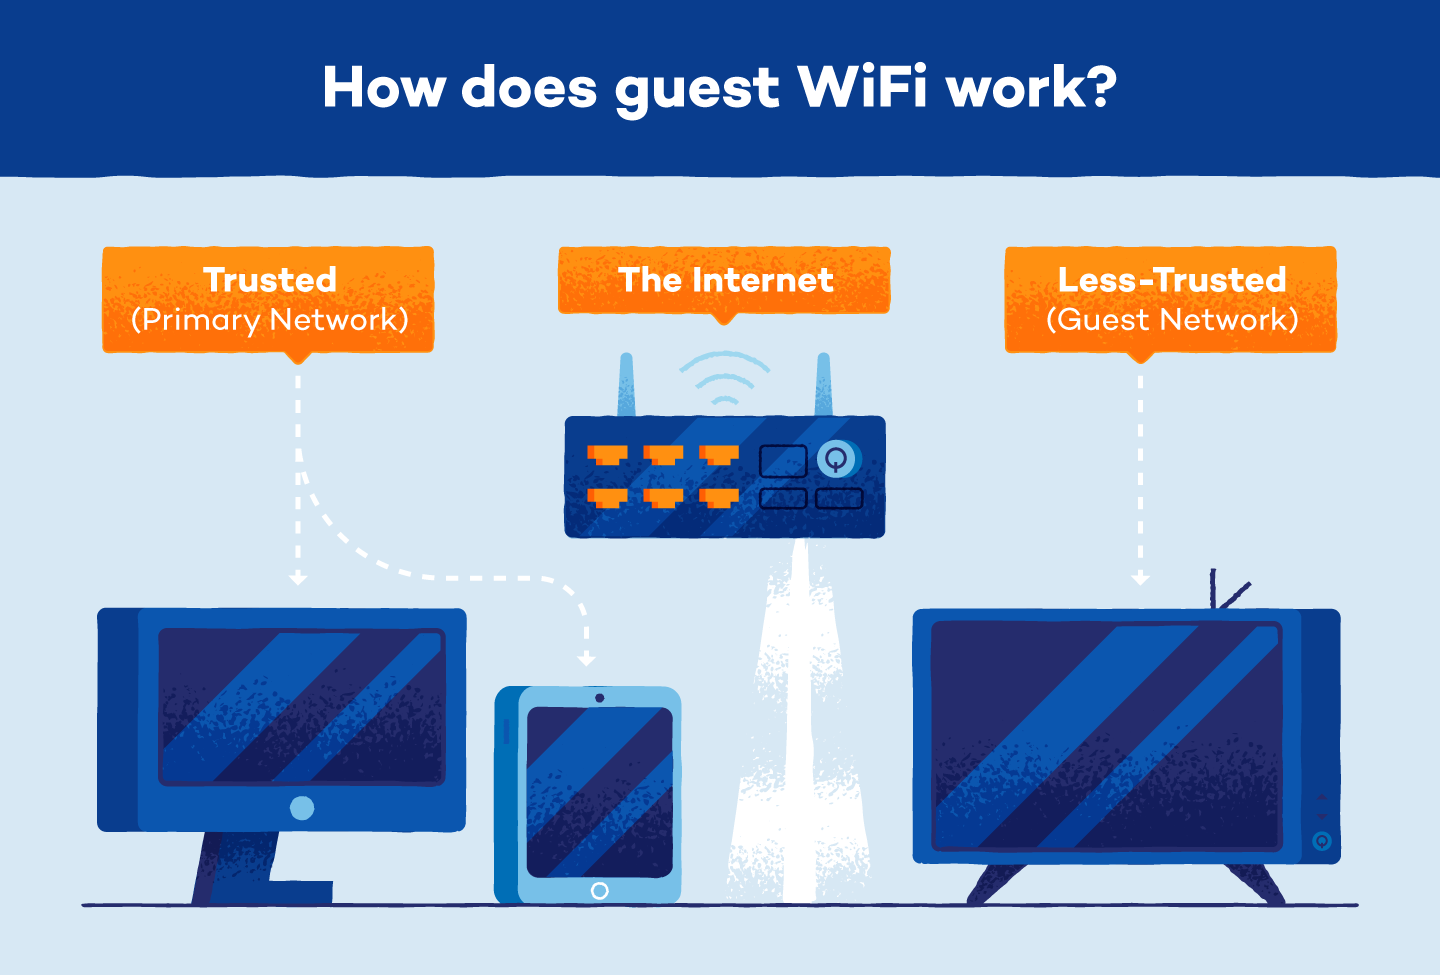
A guest WiFi network provides an access point to the internet separate from the one your primary devices connect to. WiFi works by connecting devices to a single router that grants internet access. By creating a separate entry to the internet with guest WiFi, you’re allowing internet access for devices that may be more susceptible to viruses without allowing them to connect to your home network.
Is Guest WiFi Safe?
Guest WiFi is the safest way to give your visitors access to the internet through your existing network. If your guests log on to the primary network with a compromised or malware-infected device, the virus can spread to your home devices connected to WiFi.
However, if the compromised device is connected to guest WiFi, the virus or malware can’t penetrate your home network. Additionally, guest WiFi provides another layer of protection for IoT appliances including smart TVs, which are more susceptible to security vulnerabilities.
Should Guest WiFi Have a Password?
All WiFi networks should have a password to prohibit unknown devices from connecting. While your primary network should have a more complicated password, it’s acceptable for guest WiFi to have a simplified password that’s easy to share and change if needed.
How To See What Devices Are Connected To My WiFi
You can see what devices have found your WiFi and connected by using your router’s web interface. If you suspect unknown devices have accessed your network, you can remove them through the interface.
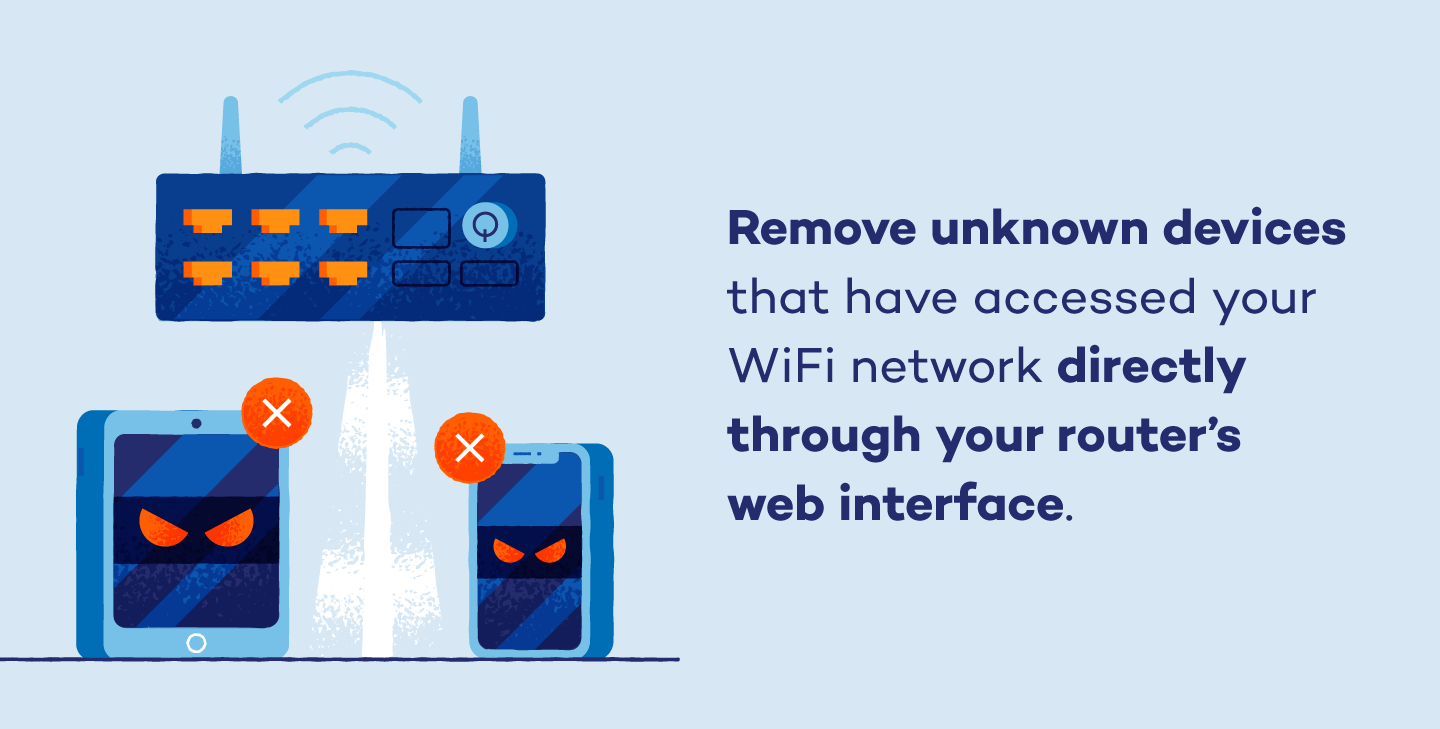
If you don’t recognize the devices listed on your router’s web interface, change the WiFi password. This will require all connections to re-enter the new password before they are allowed network access again.
How To Set up Guest WiFi
Often, creating a guest WiFi network is as simple as changing your preferences. Most routers allow you to add additional networks simply by logging into the administrator settings.
Manually Access Router Settings
Modern routers have options to customize guest WiFi access, like setting how many guests can access the network, times they can be connected, and network broadcasting for automatic connection. Follow the steps below to update your router settings to add a guest network.
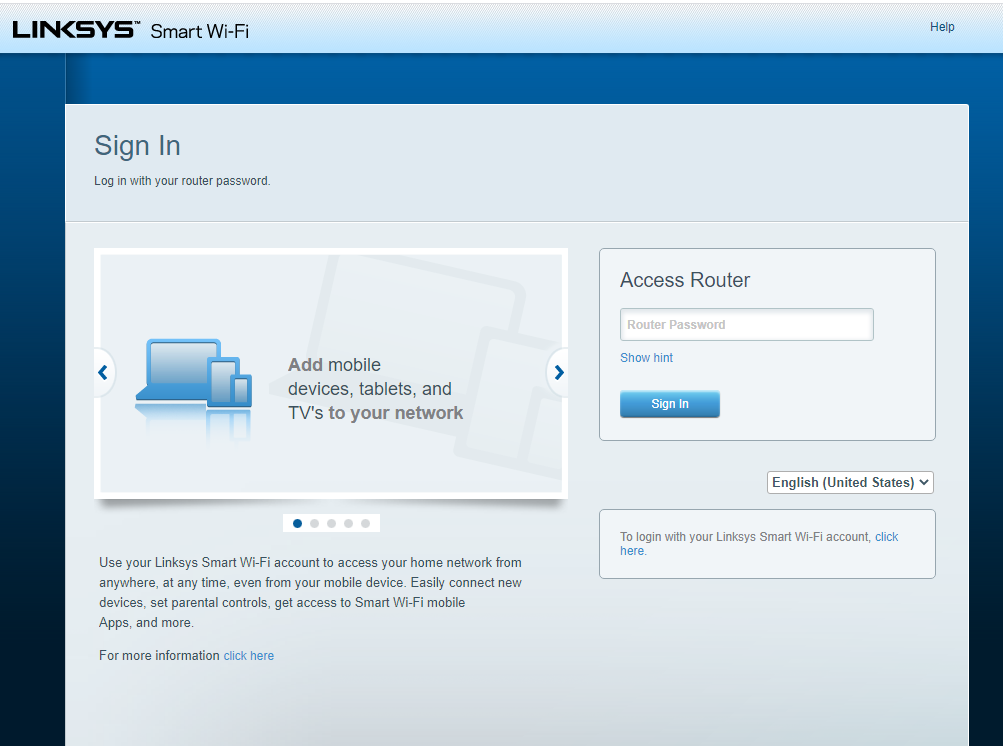
- Step 1: Find the router in your browser. Find your router’s IP address in the user manual or on the back of the router and enter it into your browser’s search bar.

- Step 2: Log into your router. Log into the router with administrator access.
- Step 3: Change the existing network settings. Find your wireless settings or router settings and choose the option to allow a guest network or access.
- Step 4: Set the network name. Once guest WiFi is enabled, set the name of the network in the SSID field. By default, most routers will add “-guest” at the end of the existing network name.
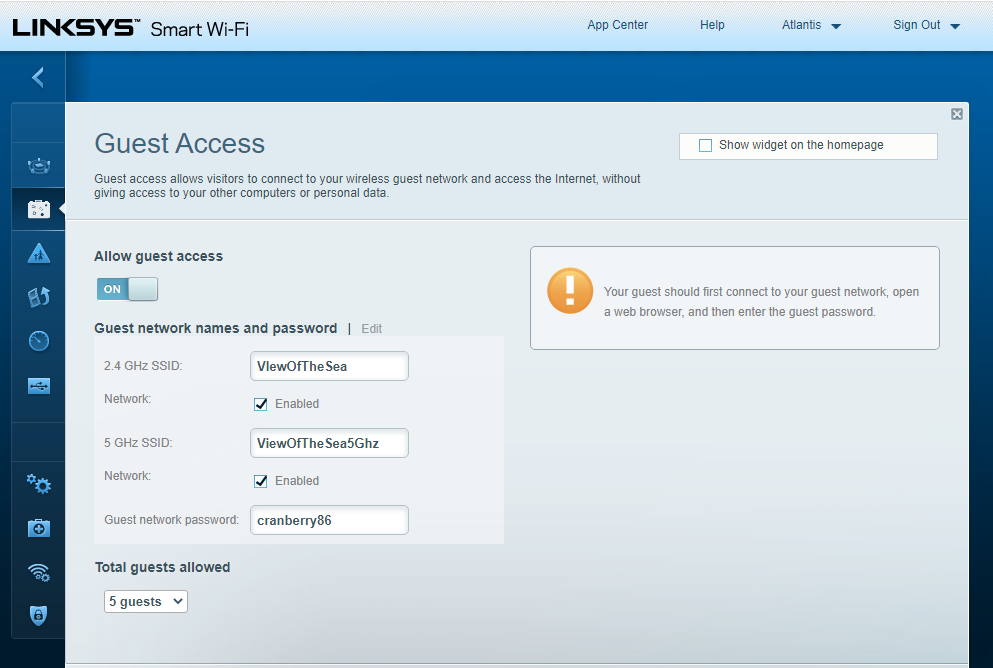
- Step 5: Configure the guest network settings. Add a new password and network security method (WPA or WPA2). Ensure you disallow guests from being able to access the primary network and settings.

Setting up WiFi for guests and vulnerable smart devices adds an extra layer of security for your primary network. Often, viruses can go undetected with the primary goal of infecting as many devices as possible. By creating a different access point for WiFi, you’re being proactive against possible cyberattacks on your network.
Panda Security specializes in the development of endpoint security products and is part of the WatchGuard portfolio of IT security solutions. Initially focused on the development of antivirus software, the company has since expanded its line of business to advanced cyber-security services with technology for preventing cyber-crime.